Making some cold porcelain today! It's such great, versatile stuff. I love it for ornaments, small dishes (don't put food on these...) and other decorative dainties. In future posts, I'll be sharing a couple of my favorite ways to use it, but for now I'll just talk about making the stuff.
Here's what you'll need:

Mostly, I used this recipe to make my own cold porcelain clay:
* 1 cup Elmer's white glue
* 1 cup cornstarch
* 1 T mineral oil (I just used JoJoba Oil that I had)
* 1 T lemon juice, witch hazel, or clove oil (I used 1 1/2 T white vinegar instead - you need more of this since there's less acidity in the vinegar and you'll need to make up for that)
I also used cold cream (Ponds or whatever you have) in order to knead the clay after it had been cooked. This prevents cracking in the clay once it's dried. It also really keeps that sticky, gloopy glop from sticking to all your little fingers. Even though you should expect this to be slightly messy. Come on, you're making your own clay with glue.
I doubled the recipe and it worked just fine. Cooking time was longer, but it came together just as well as smaller batches have done in the past.
Step 1: Mix all of your ingredients together (except the cold cream, of course) in a microwave safe bowl.

Step 2: Microwave for 2 minutes at a time, stirring in between to make sure that your mixture is heating up and coming together evenly. It will begin to congeal, stiffen, and get harder to stir; all good things. When it looks about like the picture below, maybe even a little bit drier, it's time to take it out.
Side note: This stuff isn't toxic. It's made from mineral oil (I slather that stuff on my skin), white vinegar (we use it to clean fruits and vegetables), cornstarch (I bake/cook with that all the time) and Elmer's glue (it says non-toxic on the container!). Now, don't be a dummy and eat it (even though there are moments during the cooking process when it looks like delicious marshmallow fluff or icing), but also don't freak out that it's in your microwave or in a bowl that you'll use again for food once it's been thoroughly cleaned. Okay? Okay.


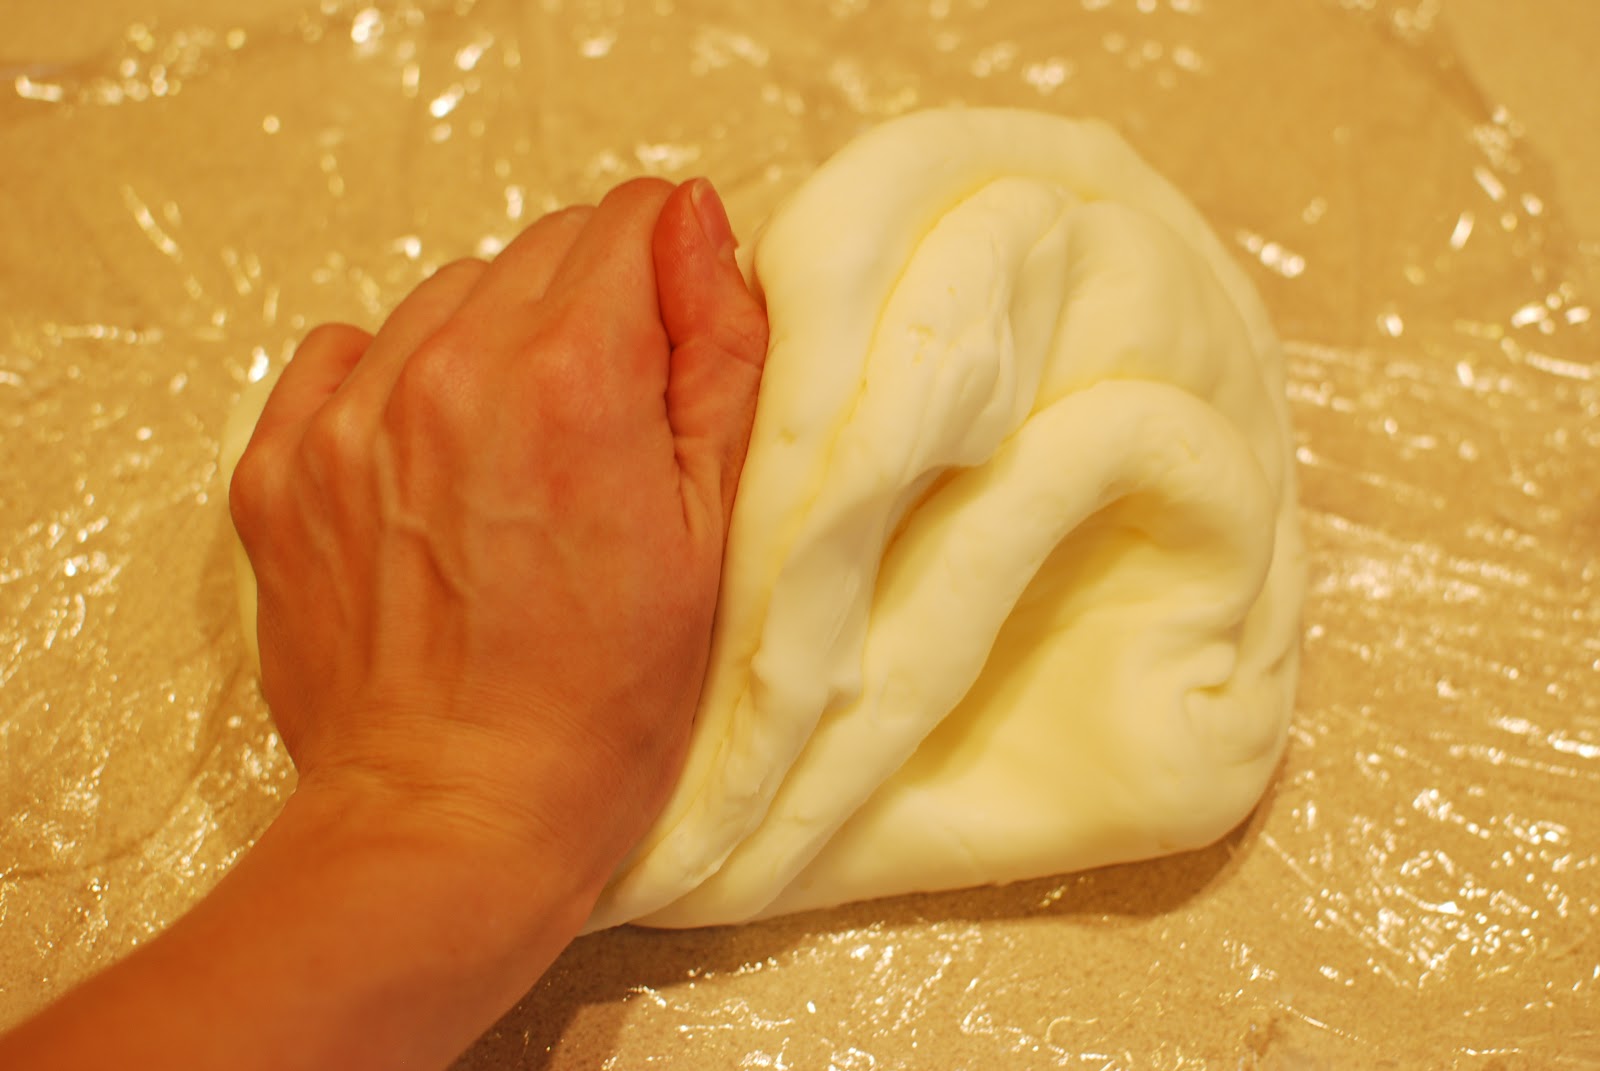
Step 3: Prepare your work surface. Your glob of goo will be super hot when it comes out of the microwave, so be careful with it. It can cool off a bit while you prepare the counter. You'll want to put down some plastic wrap on the counter because this stuff is sticky. And glue can be irritating to clean up - even though it will come off with soap and water, I promise! Now, I did have to keep rearranging the plastic. It does stick a bit to the clay while you work to knead the stuff, but it's not too big a deal. I smeared some of the cold cream on the wrap itself and then lubed up my hands really well before handling the glob. It was mostly successful. However, I won't lie to you - I did spend some time with the manicure set removing the mixture from beneath my nails afterward. But we crafters like to get a little dirty. Wink.

Step 4: Knead, knead, knead me some clay! I've heard that the more you knead the stuff, the better it settles and the fewer cracks you will have in items that you make once they have dried. Knead until it's cooled down quite a bit. I think I kept at it for about 10-12 min. It should feel elastic and cool when you're done.

Step 5: Wrap that stuff tightly in cellophane. I separated mine into two balls, since I doubled my recipe. It should have cooled sufficiently while you were kneading to be able to do this. They look like cute balls of mozzarella. Don't eat them.

Step 6: Let your cold porcelain get cold. Ha. While it's cooling, wash your damn dishes. Do it now. Or you won't want to later. Why? Because you'll be up to your neck in fantabulous cold porcelain creations and you won't want to stop. And that's it. You're done.


Other Important Stuff:
- You can use this awesome stuff in lots of ways. One way is to dye it, using acrylic or oil paints. I used the latter. For my project, I needed some green, which you can see below. Just knead that color right in and you'll be golden. You can also paint your object after it's dried. If yo leave it be, it will be white and a bit translucent (not transparent) when dried.
- Cold porcelain shrinks as it dries, up to about 30%, so keep that in mind when planning your creations.
- You'll need to seal it with something to keep out the moisture - the ingredients do revert back to goop when enough water gets to them. Think Wicked Witch of the West. So, use an acrylic sealer (or polyurethane or whatever you want) to prevent any melting or disintegrating.


